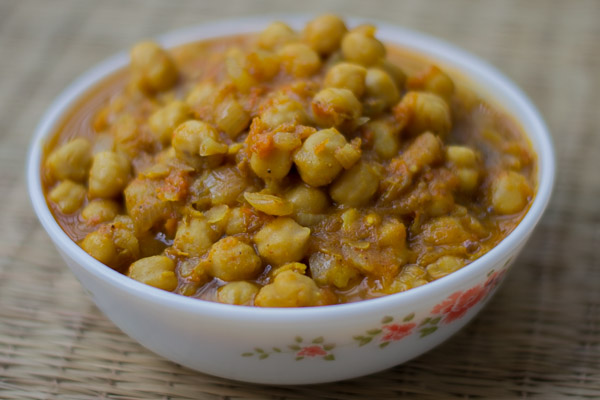
There are so many different ways in which you can do a hearty Chana Masala. This is the Chana Masala I make when I need to feed a crowd. Whenever there is an Indian party or a pot luck, someone is always bringing Chana Masala. Its hearty, liked universally by everyone and it tastes delicious. I pressure cook the chick pea and add it to the gravy. People soak the dry chickpeas in water over night. But, I usually soak the chickpeas for just 2-3 hours and then pressure cook it for 20 minutes. It comes out fantastically, every single time. Here is how to do a Chana Masala that will feed a crowd.
Soak the chickpeas for 2-3 hours. You can soak it over night if you want to but it just works fine with 3 hours. I soaked 1.5 cups of chickpea. Boil the chickpea in a pressure cooker with 6 cups of water for 20 minutes in medium flame. After 20 minutes, remove the cooker and let the pressure release naturally on its own. Set aside.

In the mean time, heat oil in a pan and add in the cinnamon and the cumin seeds. Let it splutter. Add in the chopped onions.

When the onions are frying, puree ginger and garlic with 1/4 cup of water in a blender. Set aside.

Fry till onions are soft and starting to brown. Add in the ginger garlic paste. Fry for a minute.

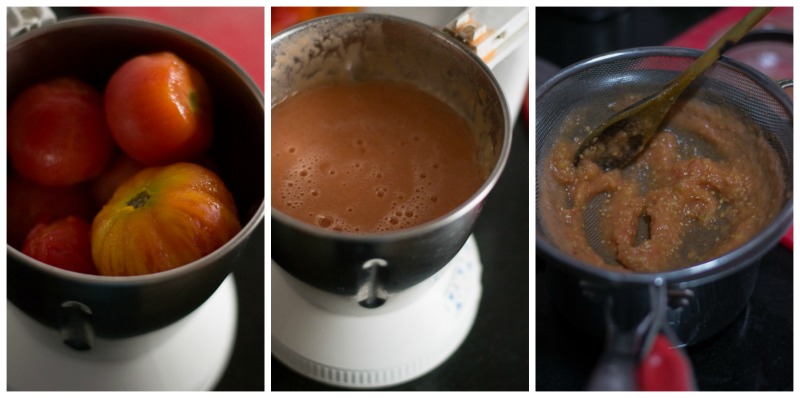
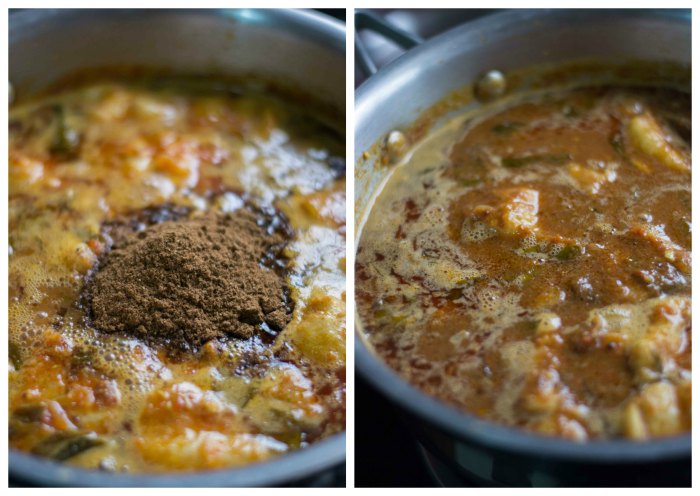
Puree 5-6 tomatoes in a blender and add it to the pan. Add in the salt, turmeric, chilli powder, coriander powder and Chana Masala powder. You can use any store bought Chana Masala powder.

Add in the cooked chickpea along with the water if any. Add in 1 cup of water and cover the pan with a lid and let it simmer on low flame for 40 minutes until thick. Keep stirring once every 10 minutes, so it does not scorch at the bottom.

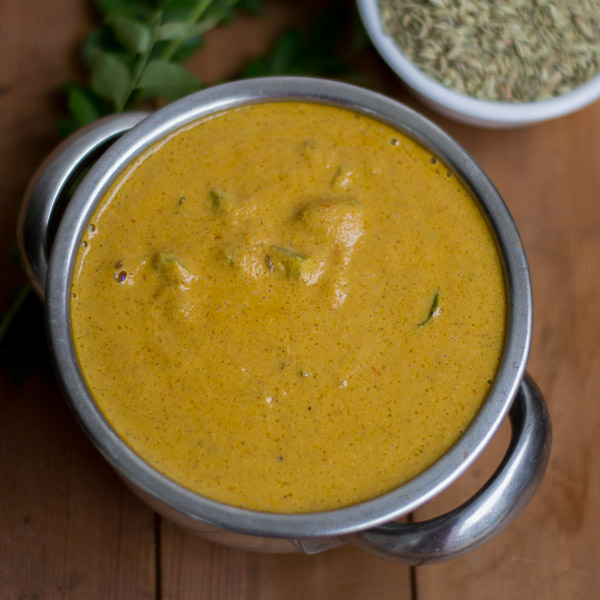
Once the gravy is thick, remove off heat.

Serve hot.


- 1½ cups chickpea chana
- 2 tablespoon oil
- 2 sticks cinnamon
- 1 teaspoon cumin seeds
- 3 medium sized onions, chopped
- 10 cloves garlic
- 2 inch piece ginger
- 5-6 ripe medium tomatoes
- 1 teaspoon chilli powder
- 1 teaspoon turmeric powder
- 1 teaspoon chana masala powder
- 2 teaspoon coriander powder
- 1½ teaspoon salt
- Heat oil in a pan and add in the cinnamon and the cumin seeds. Let it splutter. Add in the chopped onions. Fry till onions are soft and starting to brown.
- Add in the ginger garlic paste. Fry for a minute.
- Puree 5-6 tomatoes in a blender and add it to the pan. Add in the salt, turmeric, chilli powder, coriander powder and Chana Masala powder. You can use any store bought Chana Masala powder.
- Add in the cooked chickpea along with the water if any. Add in 1 cup of water and cover the pan with a lid and let it simmer on low flame for 40 minutes until thick. Keep stirring once every 10 minutes, so it does not scorch at the bottom.
- Once the gravy is thick, remove off heat.
- Serve hot.


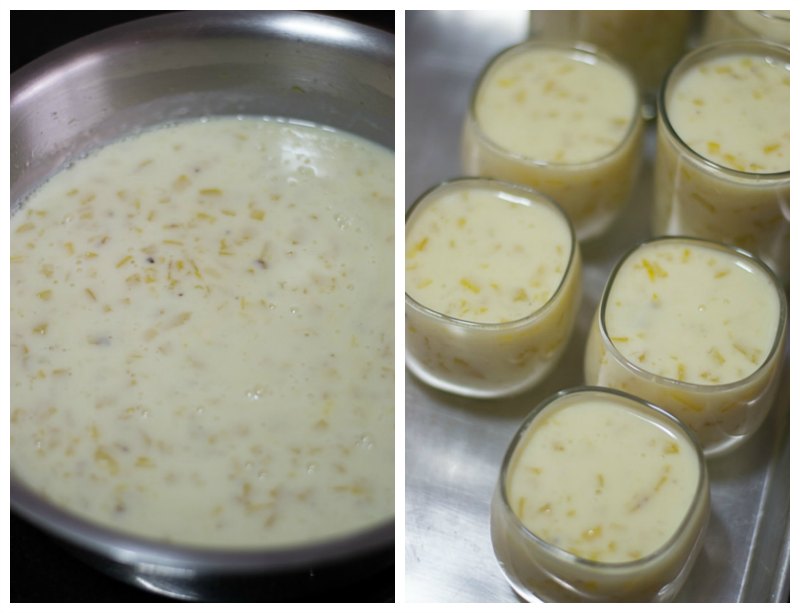


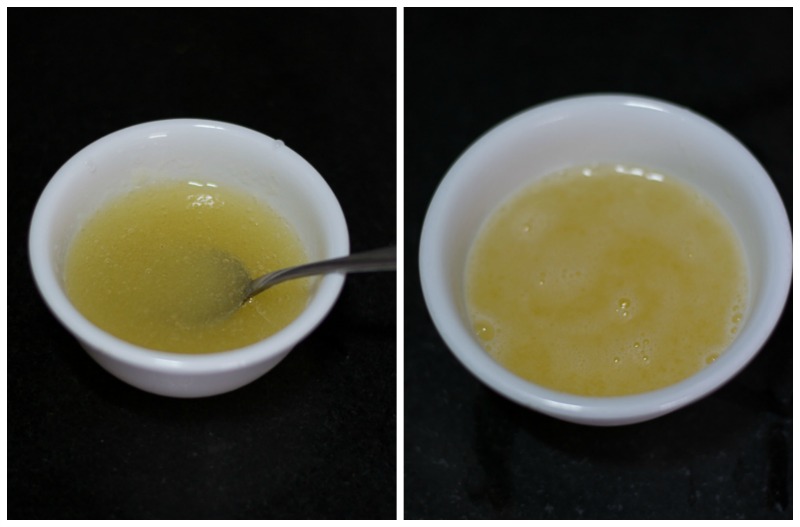
 For the Paneer – Boil 750 ml of milk in a pan and let it come to a boil. Add 2 teaspoon of fresh lemon juice when the milk is boiling and bubbling over.
 For the Digestive Biscuit Crust – Break up the biscuits and place in a food processor / mixie along with the butter and pulse it to fine crumbs.
 For the Filling


 For the topping