
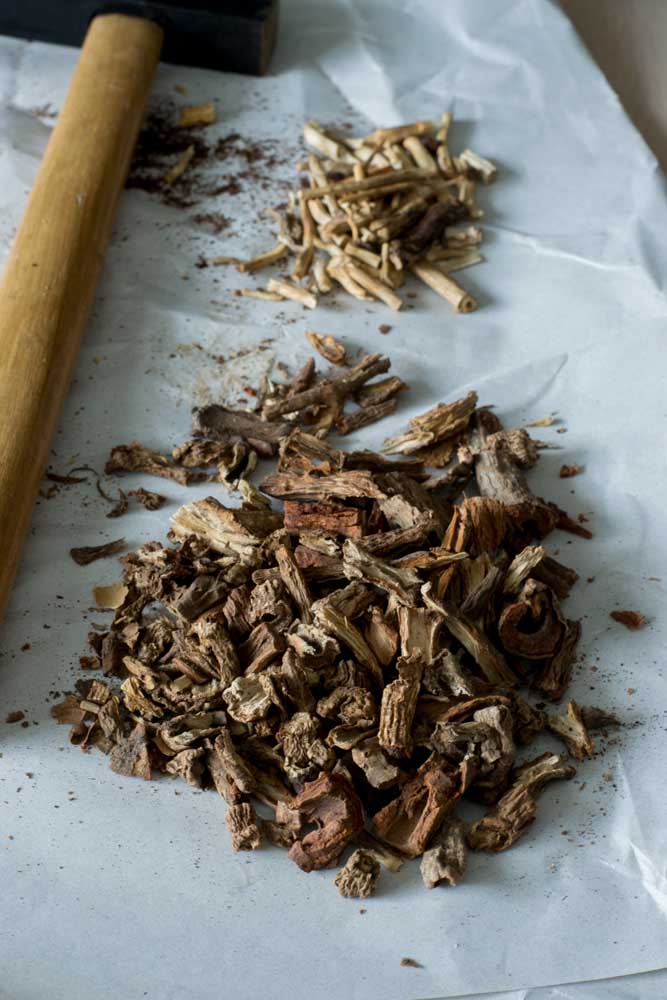
Kadappa is a lentil based gravy (resembling kurma) usually served with idli / dosa varieties in the Thanjavur – Kumbakonam region. When I first heard about this dish, I was curious about the name. I do not know as to how the dish got its name as kadappa. There isn’t any history available. Thanjavur – Kumbakonam is rich in history and heritage and this dish is truly an unique dish that belongs to the region. There are several things that are so unique to the region. Starting from the great temples to the degree coffee, it has a lot to offer. I was fortunate to witness the making of thanjavur bronzes ( may be the last generation of the dying breed of craftsmen) during my last trip. Chola Bronzes are famous worldwide and this art has a rich heritage of more than a thousand years. It is so meticulously crafted and detailed that one falls in love the moment you see them. If you happen to visit Thanjavur-Kumbakonam, don’t forget to pick up a few.

Here is the recipe for kadappa. There is a little prep work thats needed.
Boil half a cup of split yellow moong dal with 1.5 cups of water in a pressure cooker for 4 whistles/10 minutes until mushy. Set aside.
Boil the potatoes in salted water until they are fork tender. Peel the potatoes, chop them into small pieces and set aside.

We will now grind the kadappa masala. Take all of the ingredients listed under masala and grind it to a smooth paste. Add up to 1 cup of water while grinding. Set aside.

Heat oil in a pan and add in the chopped onions and curry leaves. Saute till the onions are soft. Add in the tomatoes and the salt. Saute till the tomatoes are slightly mushy.

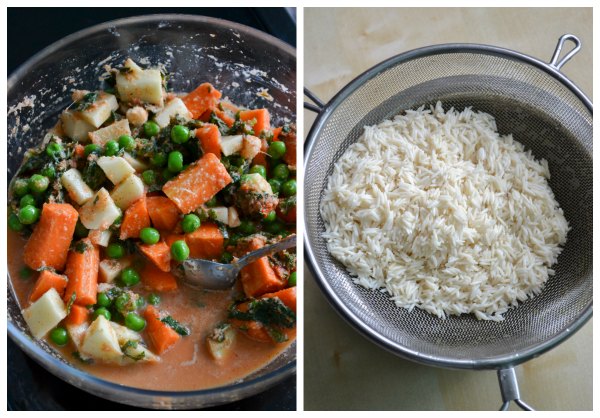
Add in the ground masala, potatoes and the dal. Add in 1.5 cups of water. Cover the pan and let it simmer on a low flame for 10 minutes.

Saute once in a while so the gravy does not stick to the bottom. The gravy is ready when the potatoes fall apart. Add in couple of sprigs of curry leaves. Switch off the flame and serve hot with with idli / dosa varieties.

- 4 medium sized potatoes
- ½ cup of yellow split moong dal
- ½ cup fresh shredded coconut
- 5 green chillies
- 1 inch piece ginger
- 5 cloves garlic
- 2 cloves
- 1 star anise
- 2 cardamon
- 2 piece cinnamon
- 2 teaspoon fennel seeds (sombu/perunjeeragam)
- 2 teaspoon peanut oil
- 2 medium sized onions, chopped
- 4 sprigs curry leaves
- 1 big ripe tomato, chopped
- 1½ teaspoon salt
- Boil half a cup of split yellow moong dal with 1.5 cups of water in a pressure cooker for 4 whistles/10 minutes until mushy. Set aside.
- Boil the potatoes in salted water till they are fork tender. Peel the potatoes, chop them into small pieces and set aside.
- Take all of the ingredients listed under masala and grind it to a smooth paste. Add up to 1 cup of water while grinding. Set aside.
- Heat oil in a pan and add in the chopped onions and curry leaves. Saute till the onions are soft. Add in the tomatoes and the salt. Saute till the tomatoes are slightly mushy.
- Add in the ground masala, potatoes and the dal. Add in 1.5 cups of water. Cover the pan and let it simmer on a low flame for 10 minutes.
- Saute once in a while so the gravy does not stick to the bottom. The gravy is ready when the potatoes fall apart. Add in couple of sprigs of curry leaves. Switch off the flame and serve hot with with idli / dosa varieties.
The post Kumbakonam – Thanjavur Kadappa Recipe appeared first on Kannamma Cooks.
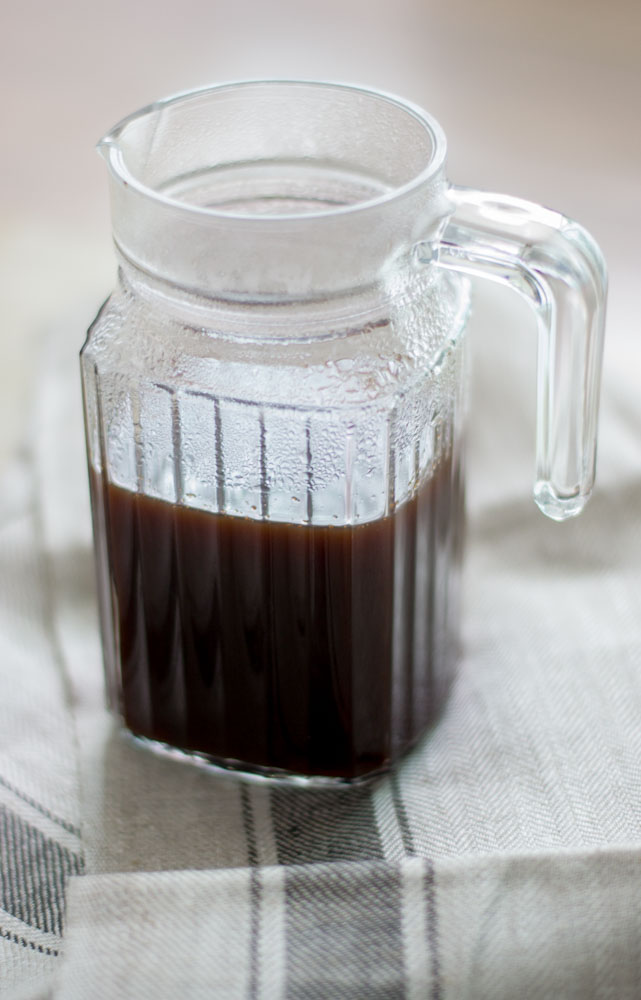
 CHAI – TEA


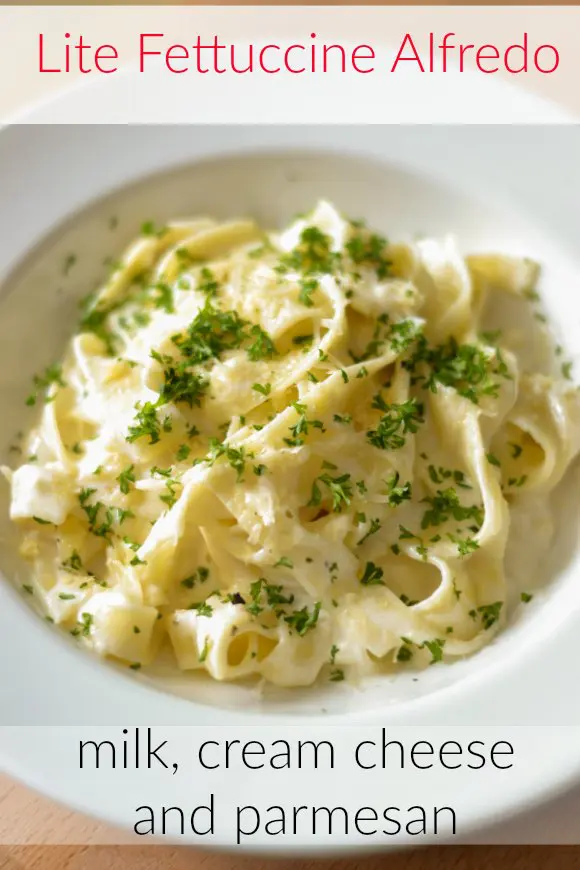
 Fettuccine Noodles is rich, and thick and very hearty. So indulge on your creamy Alfredo meal. My family enjoys this meal every-time I make it.
 Add in the milk and cream cheese. Boil the mixture for a couple of minutes until foamy and bubbly. Add in the cooked fettuccine and toss to coat. Add in the salt and Parmesan cheese. Go easy on the salt as Parmesan cheese is salty. Toss the pasta mixture over low heat until the sauce thickens and coats the pasta evenly. Garnish the pasta with chopped parsley. Serve hot!


 For ingredient measurements and instructions for Thala Ajith Biryani, scroll to the bottom of the page.


